How to make AeroPress coffee (traditional method)
Invented by Alan Adler (the same guy who invented the Aerobie frisbee!), the AeroPress coffee maker has become a leader in speciality coffee brewing.
- What is an AeroPress?
- Brewing Methods
- What you’ll need to brew
- How to use an AeroPress
- Share your AeroPress coffee recipes
- AeroPress coffee FAQs
An introduction to AeroPress brewing
AeroPress is a style of coffee brewing that uses the AeroPress coffee maker, a cylindrical shaped brewer that features a plunger.
The AeroPress was launched in 2005 and quickly became popular with coffee lovers across the globe for its portable design, ease of use and flexibility.
Popularly used by brewers worldwide
The AeroPress is highly regarded within the coffee community. Every year, there's a World AeroPress Championship held in Melbourne.
During the championship, contestants from over 60 countries compete to make the best cup of coffee using their go-to AeroPress recipe.
In the UK, Caravan Coffee Roasters runs their annual English AeroPress Championships and in 2022, OddKin’s very own barista trainer Lindsey headed to London to compete in the champs, read more about her experience and the AeroPress recipe she used here.
AeroPress brewing methods:
You may be surprised to find out that there are two methods of brewing AeroPress coffee, the 'traditional/regular' way and the 'inverted' way.
These two brew styles have seriously divided the coffee community. While inventor Alan Adler intended for his coffee maker to be used with the traditional method, many die-hard AeroPress fans swear by inverted brewing.
Ultimately, the best AeroPress method depends on your personal preference. So, take time to play around with your gizmo and figure out which method suits you best!
1. Traditional AeroPress Method
The way the AeroPress was originally designed to brew coffee, outlined in our six-step brewing instructions below.
2. AeroPress Inverted Method
Over time, the inverted method was trialled by members of the coffee community, who found that the immersion time could be maximised by standing the AeroPress upside down.
This method of brewing enables the coffee to be immersed in water for a longer period of time, increasing extraction. However, bear in mind that this method shrinks the volume capacity of the AeroPress, resulting in less coffee.
Read our AeroPress Inverted Brew Guide.
How to make AeroPress coffee:
You’ll need:
-
15g coffee (medium-fine grind)
-
250g boiling water
-
Kettle
-
Timer
-
Scales
-
Stirrer
Method
-
Boil the kettle and then leave it to rest for 30 secs to 1 min.
-
Pop a paper filter into the cap of the AeroPress, rinse it with hot water to pre-wet and screw it back in.
-
Remove the plunger and place the base of the AeroPress on top of your cup. Carefully pour the ground coffee inside the AeroPress.
-
Start your timer and steadily pour 250g of boiling water in. Use the stirrer to stir the coffee 3 times and place the plunger on top.
-
At 2min, 30 sec: Take 30 secs to gently plunge the remaining coffee into your cup.
Et voila! Your coffee is served.
💡 Top Tip: We recommend using fresh, filtered water to allow for a fuller flavoured brew.
AeroPress Coffee FAQs
What is the best grind size for AeroPress?
The ideal AeroPress grind size is medium-fine. This means that each coffee particle will be roughly 0.5 mm in size with a texture that’s smoother than sand.
For tastiest results, grind your coffee just before you brew. This ensures you keep all the freshness and aromatics in your coffee that you’d typically lose when pre-ground.
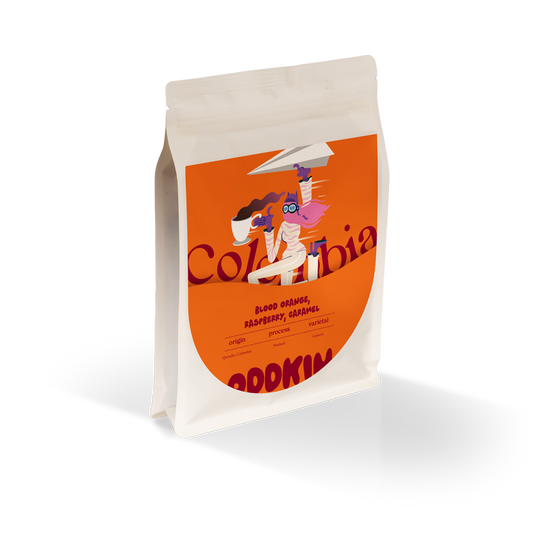
However, if you don’t have access to a grinder we offer pre-ground options too.
Where can I buy an AeroPress?
We stock the clear Aeropress coffee maker as well as the filter papers.
What is the difference between an AeroPress and a French press?
AeroPress and French press are two popular methods of brewing coffee that both feature simple design for easy use.
As immersion brewers, they both allow for the coffee and water to sit together before being filtered, but they have different processes, serving sizes and brew times.
| Feature | AeroPress | French Press |
| Servings | 8 - 10 oz | 8 - 52 oz |
| Brew Time | 2 minutes | 4 minutes |
| Coffee Grind Size | Medium-fine | Coarse |
What are the benefits of making AeroPress coffee?
This much loved method of brewing coffee boasts a number of benefits for coffee beginners and baristas alike. The pros of using an AeroPress include:
- It uses gentle air pressure to create a rich flavour that’s low in acidity
- The brewing system results in uniform extraction, improving coffee taste
- Portable in design, it can travel with you wherever you go
- Made from non-toxic plastic that is sturdy, durable and long-lasting
- A versatile coffee maker that allows for creativity and various brewing methods
Want to know more about different ways to brew your beans?
Join one of our fun weekend classes at the OddKin roastery! Suitable for all levels of experience. Bring a pal and mess around with some fab coffee for a morning or afternoon.
Click below to read more and see our available classes:

Freshest Coffee from OddKin


Freshest News from OddKin

Learn more about coffee with our Odd Fam

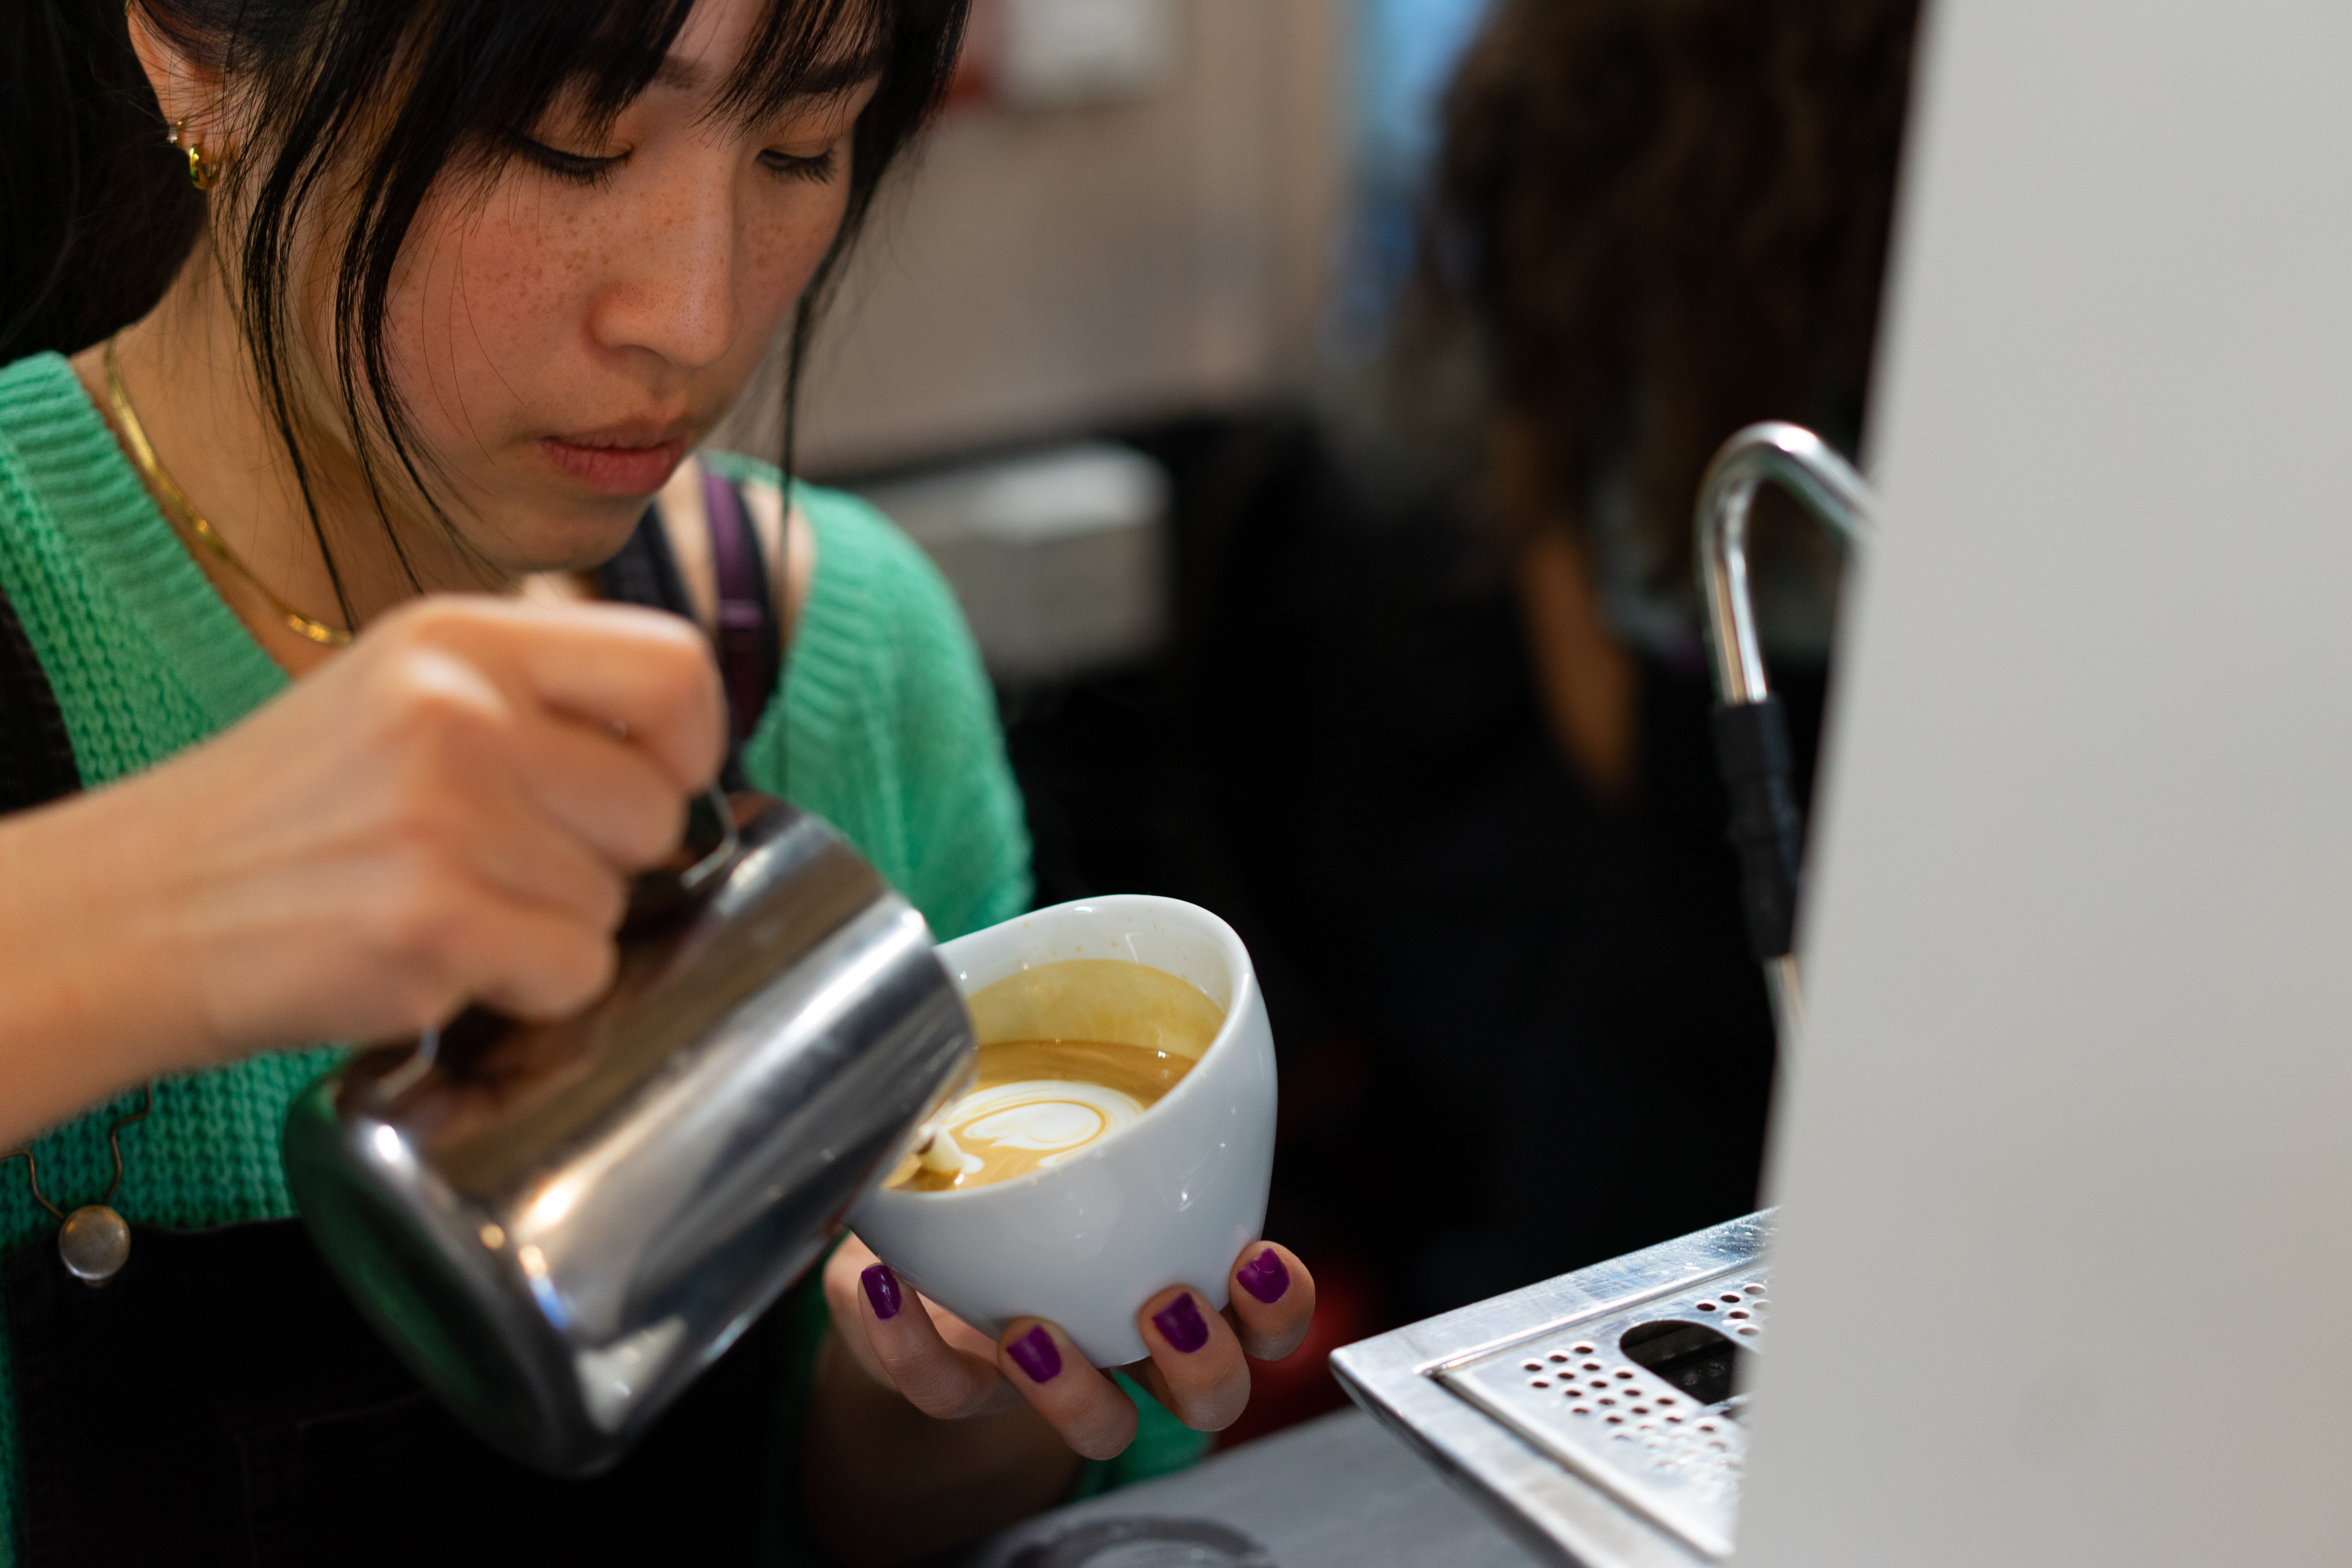
Latte Art 101
Be a Barista

Coffee Brewing Masterclass
Small Batch Roasted
Free Delivery
Subscriptions Available
Gift Cards